Your campaign reads the Tented Result column. No Clay API key is needed.

Before you start
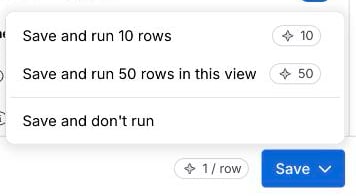
You need admin access to Tented, an approved tent template, AI credits, and a Clay plan with HTTP API columns and Delay Runs. Each new page uses half a Tented AI credit. Your Clay table needs an email column; first name, last name, company name, job title, and website columns make the page more personal.1. Connect Clay in Tented
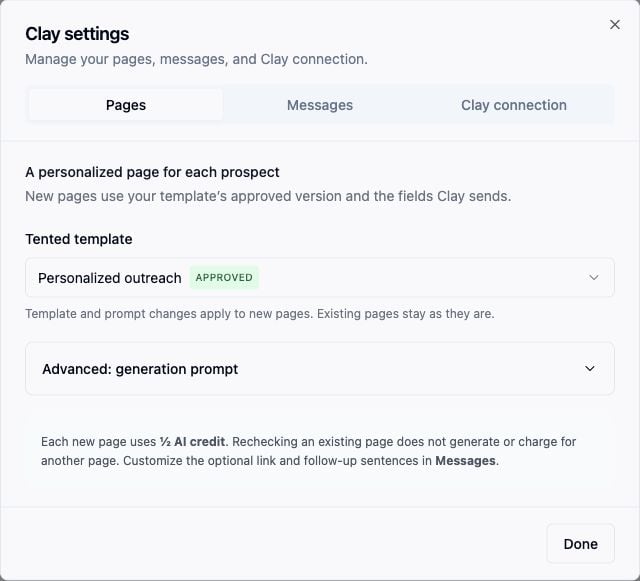
- Open Settings → Integrations and select Connect on the Clay tile.
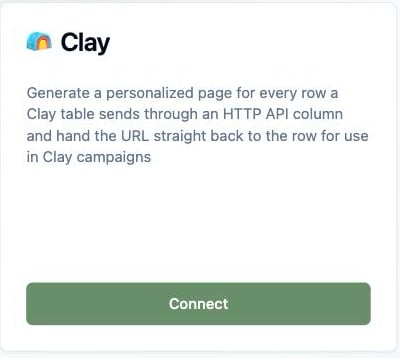
- In Pages, choose the approved template each page starts from.
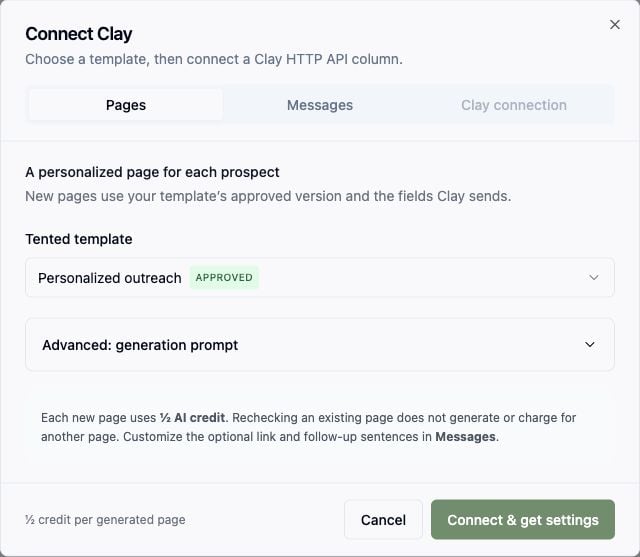
- Optionally, in Messages, edit the link sentence and follow-up sentence that Tented returns for your emails.
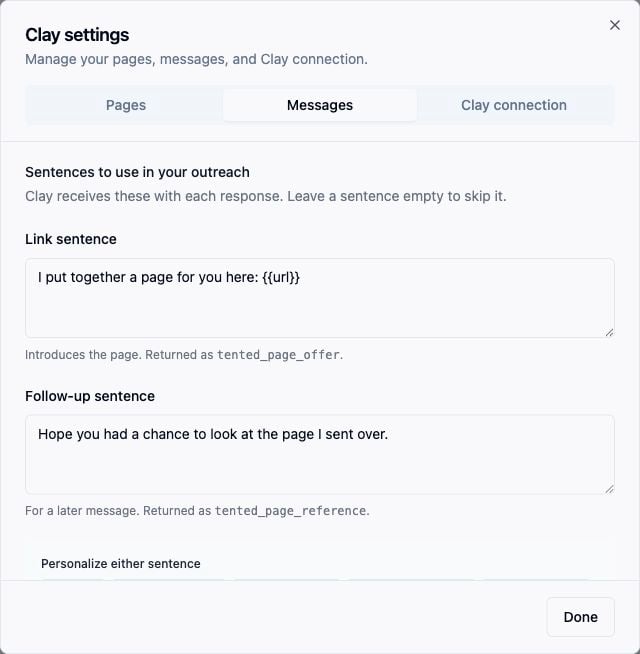
- Select Connect & get settings. The Clay connection tab repeats the steps below with copy buttons for every value you need.
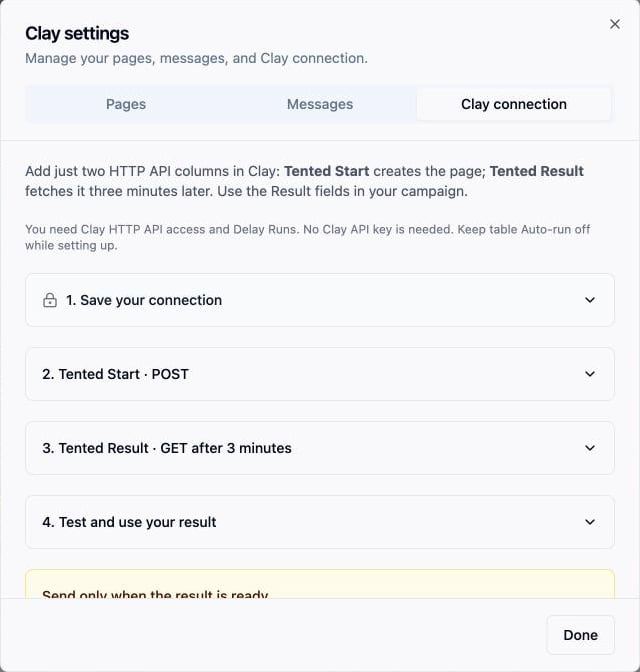
2. Save your connection in Clay
In Clay, open Settings → Connections → Create → HTTP API (Headers). Name the account Tented page generation and add one header:
You will select this account in both columns. Keep the secret private.
3. Add Tented Start
In your Clay table, select Add column → Add enrichment, search for HTTP API, and open the Configure tab. Name the column Tented Start.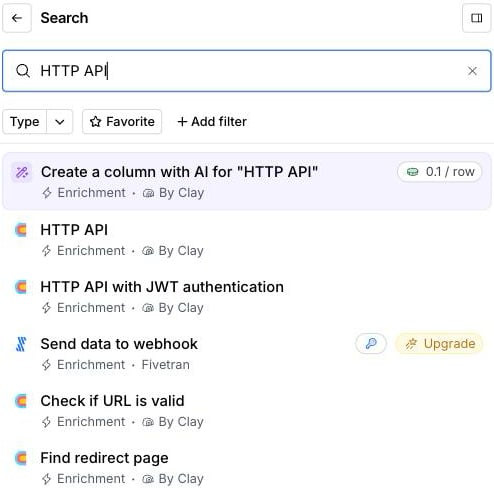
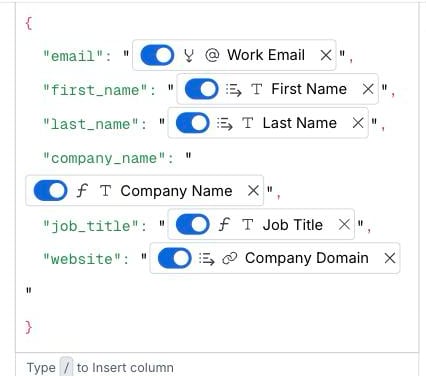
/, and pick the matching Clay column. Email is required; the other fields personalize the page and can be left out.
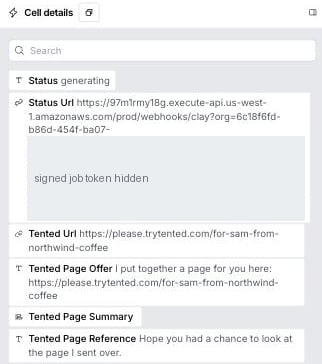
status tented_url tented_page_offer tented_page_reference tented_page_summary status_url
4. Add Tented Result
Add a second HTTP API column named Tented Result.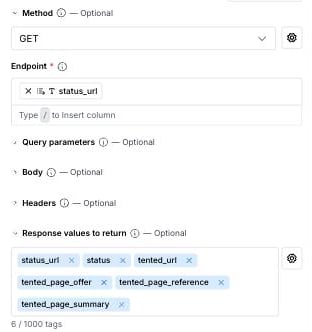
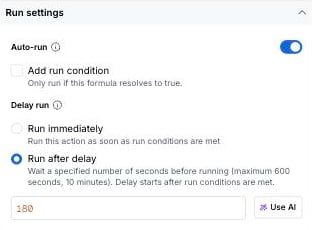
5. Test it
- Turn on table Auto-run from the button at the top left of the table, keeping existing results.
- Add a test row. Fill in the name and company first and the email last. Start runs as soon as the email is in, and Result starts its three-minute countdown.

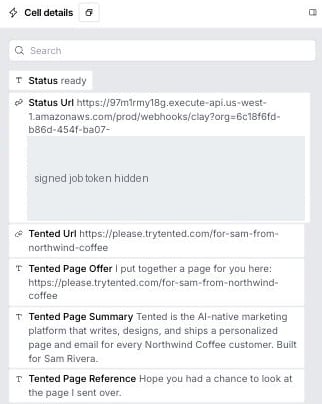
- After three minutes, open the Tented Result cell.
statusisreadyandtented_urlopens the finished page.
Using the result in a campaign
Map the URL, the link sentence, the follow-up sentence, and the summary from Tented Result:
Only send when the page is ready. In the campaign action’s Only run if formula editor, paste:
If a page is not ready
Running Result never uses credits or rebuilds a page. Running Start again for a prospect who already has a page returns the existing page without charging for a new one.
After connecting
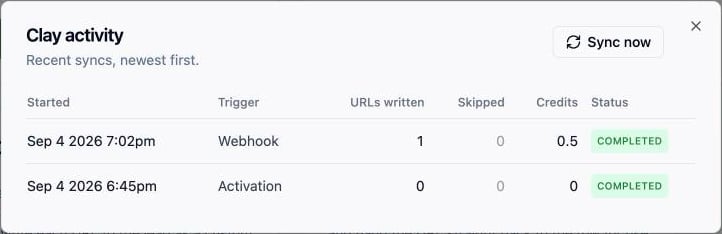
The Clay tile shows the template, the last sync, and a View activity link.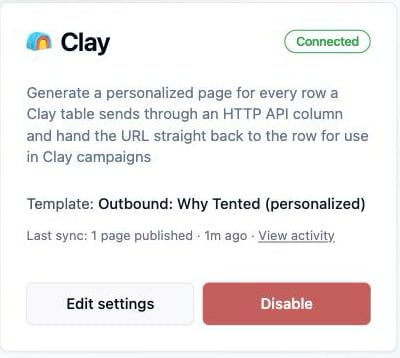

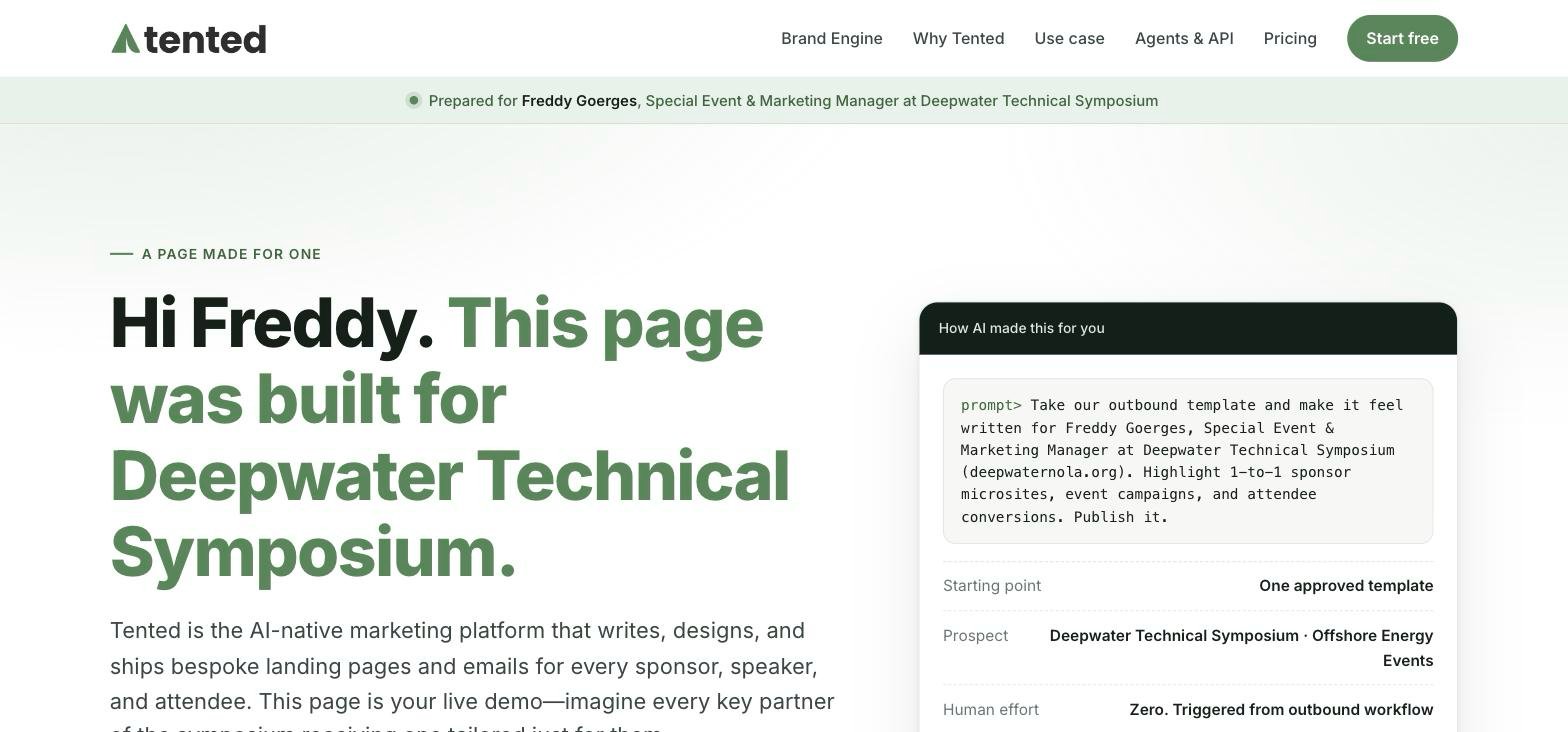
https://your-domain/for-bryan-from-acme-co. Email identifies the prospect: the same email always gets the same page, even from another Clay table.
Changing settings
Select Edit settings on the Clay tile. Pages changes the template for new pages, Messages changes the sentences returned on future rows, and Clay connection shows the setup steps, endpoint, and header secret again.